Walkthrough: Using the sample notebooks remotely from Windows
In this article you'll learn how to use systemathics/notebook-examples with Ganymede public endpoints from Windows
The sample notebooks are directly usable in the Web hosted Jupyter Lab. More advanced users can also execute them locally on their computer and plug them to Ganymede public endpoints from Microsoft Windows.
This walkthrough is 100% Windows based and only has support for Python notebooks.
Step 1 : Install Python
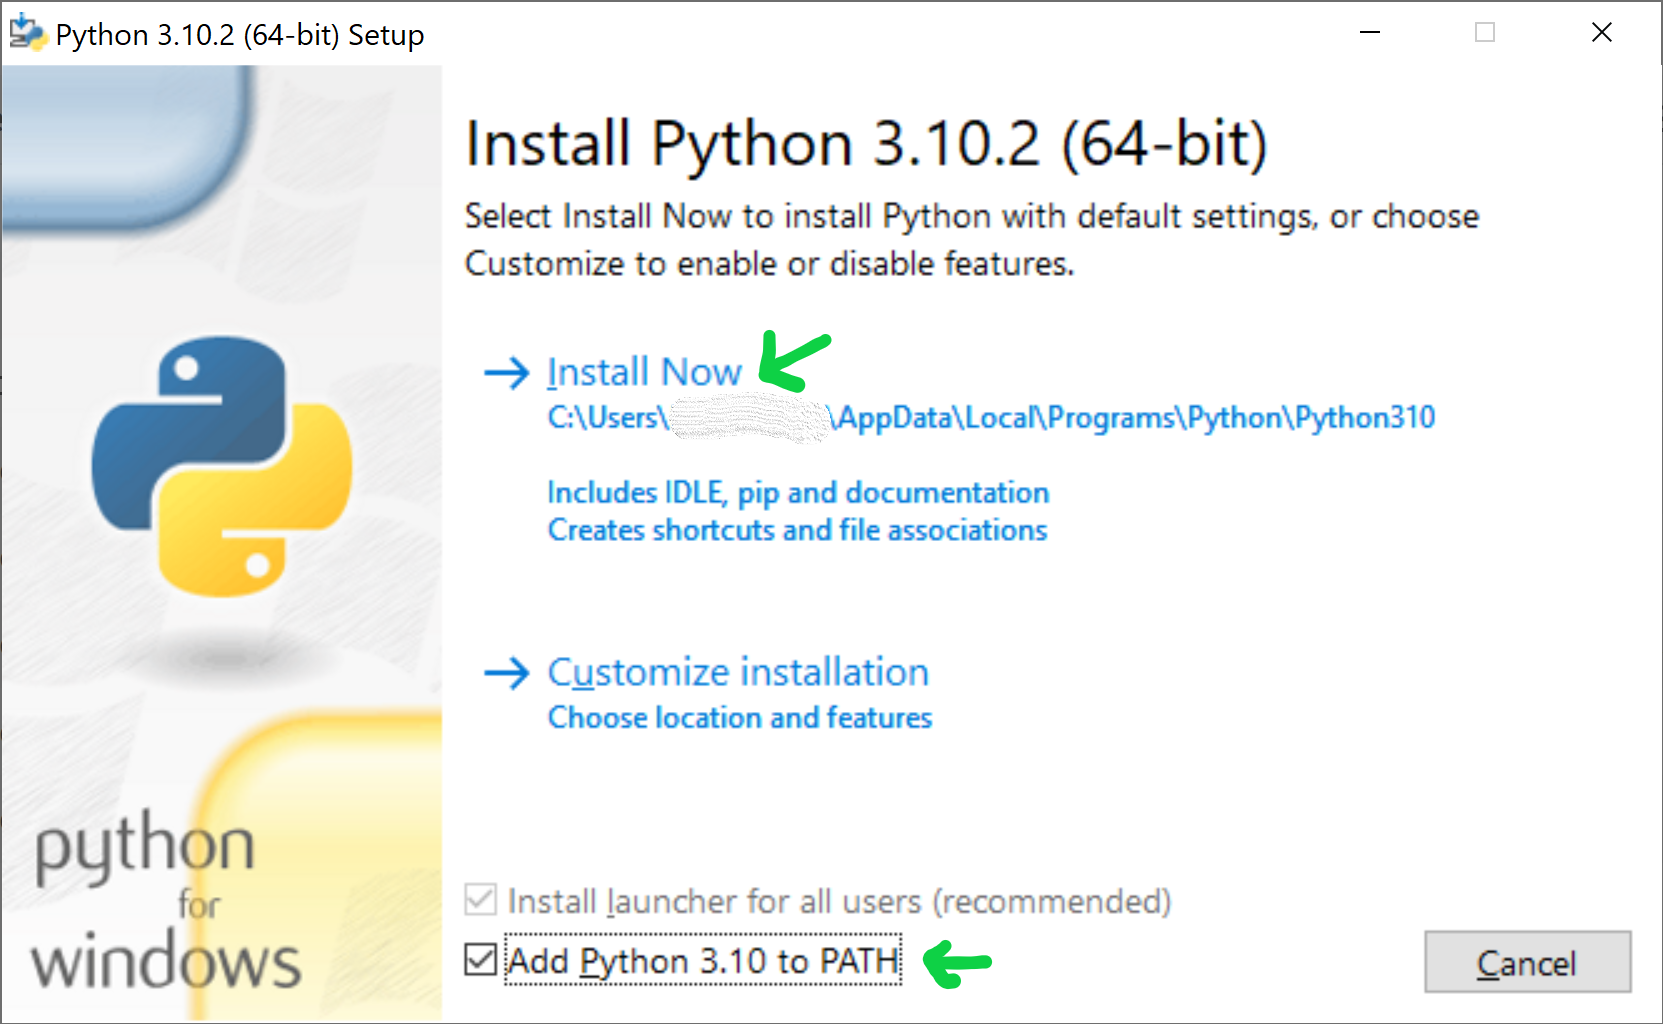
The objective is to have python.exe in PATH so that we can invoke it from any command prompt window.
Download the installation package from https://www.python.org/downloads/windows and follow the installation steps.
It's advised to check the "Add python 3.xx.y to PATH" checkbox.
Step 2 : Install Jupyter lab
The objective is to have Jupyter notebooks support by installing Jupyter lab.
The installation step originates from https://jupyter.org/install and reproduced below.
From "Command Prompt" window, use pip to install jupyter lab.
pip install jupyterlabStep 3 : Install Systemathics gRPC API support and dependencies
The objective is to install Ganymede gRPC API and minimal dependencies.
From "Command Prompt" window, use pip to install systemathics.api package and dependencies.
pip install wheel python-certifi-win32 systemathics.apissystemathics.api contains auto generated client stubs and request/response types to help access Ganymede gRPC API, along with token_helpers and channel_helpers.
python-certifi-win32 is required to import certificate authorities from Windows certificates store, this is crucial in order for Ganymede Let's Encrypt certificates to be trusted by Python code. The imported certificates are in your user directory under %USERPROFILE%\AppData\Local\.certifi\cacert.pem.
Step 4 : Get systemathics/notebook-examples from github
This can be done using any git flavour:
- Using official git
git.exe clone https://github.com/systemathics/notebook-examples/tree/prod - Using GitHub CLI
gh.exe repo clone systemathics/notebook-examples - Using GitHub Desktop

- Any other git based tool

If you're not familiar with git, you can also download the latest ZIP archive .
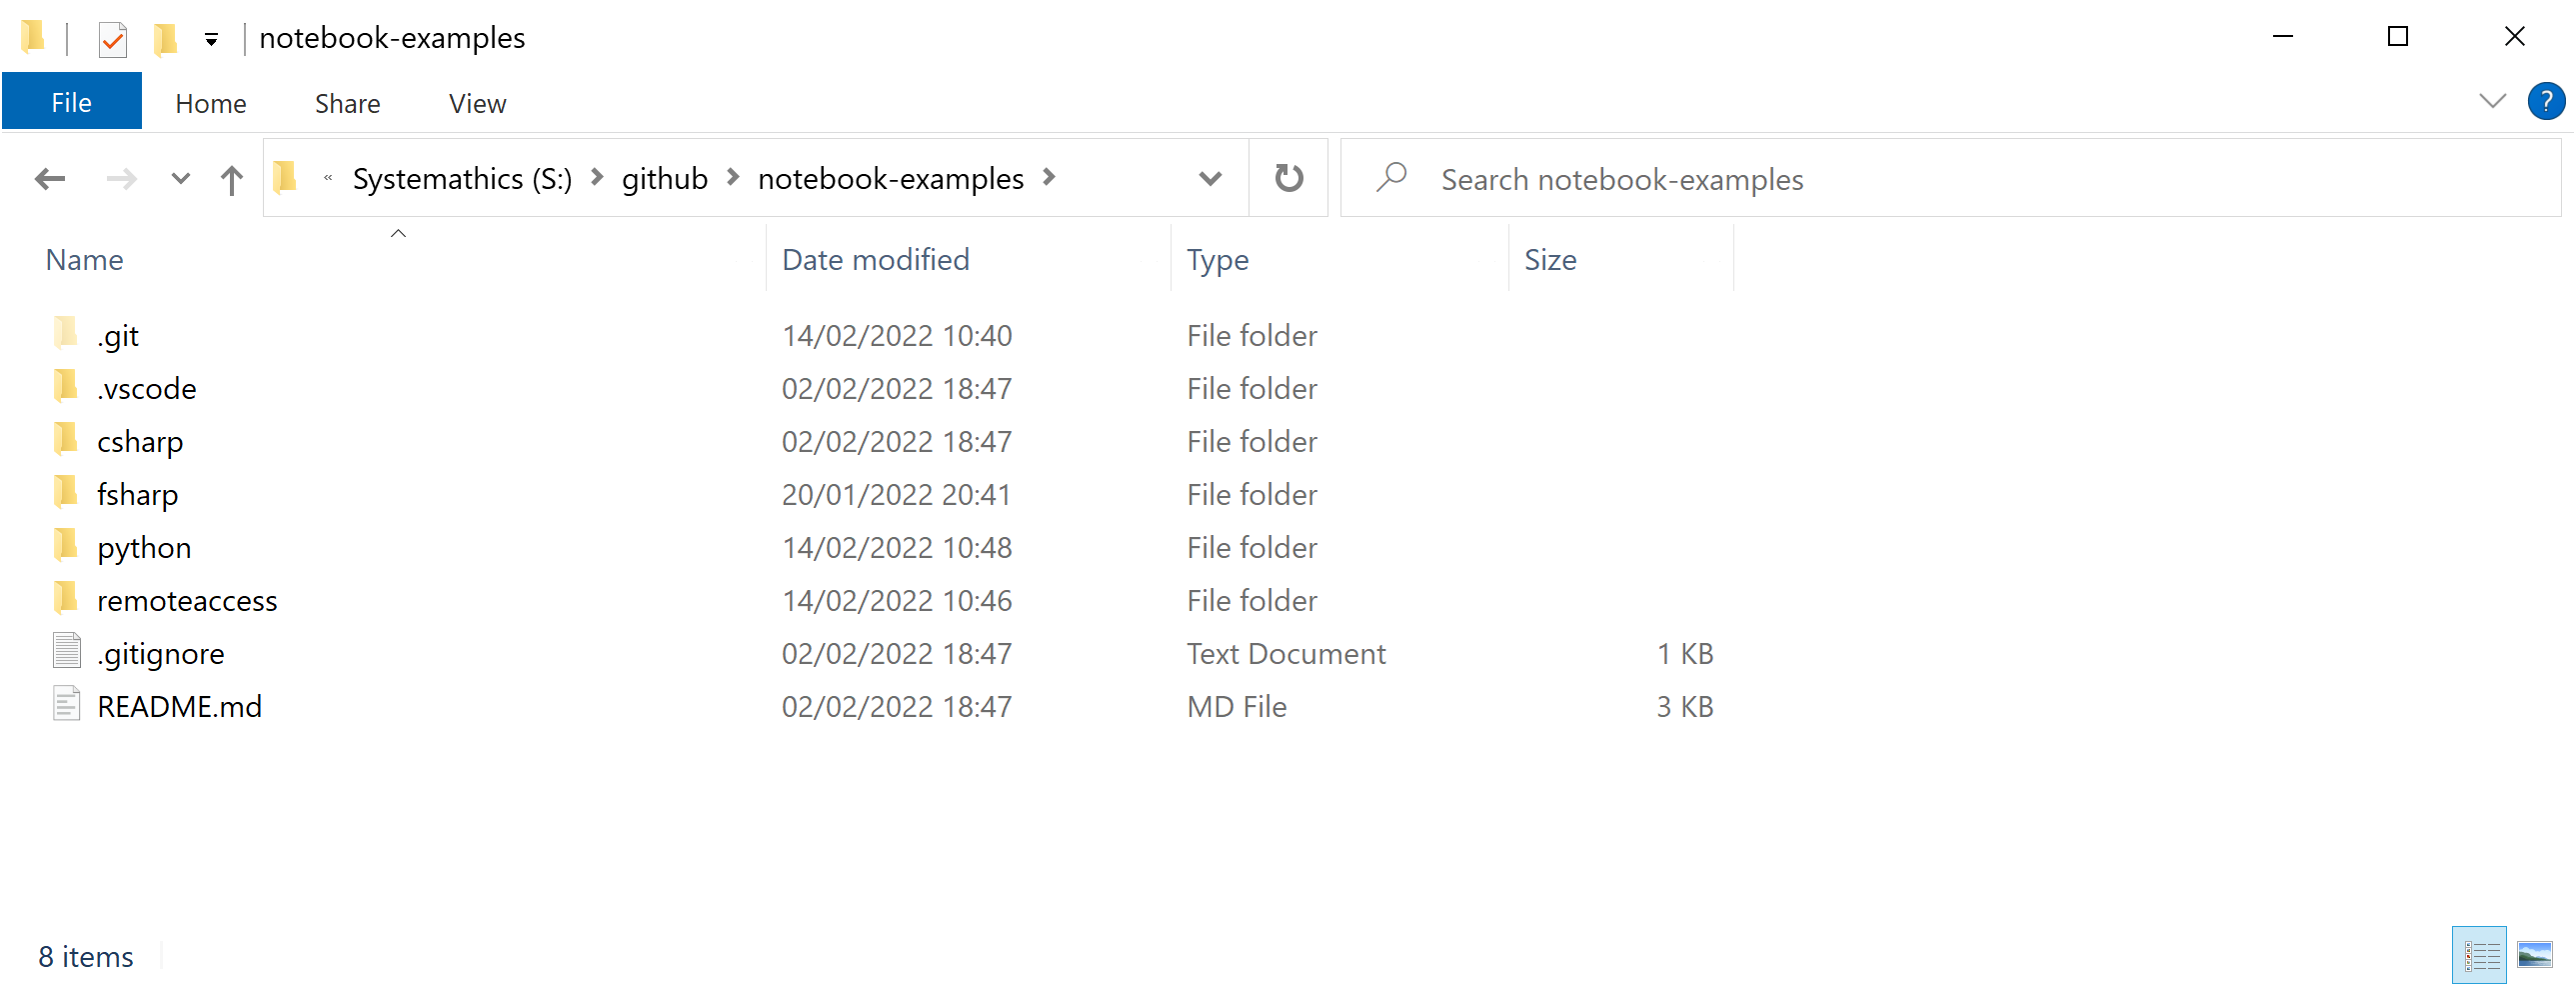
The resulting folder should look like this:
Step 5 : Create an authentication token from the dashboard
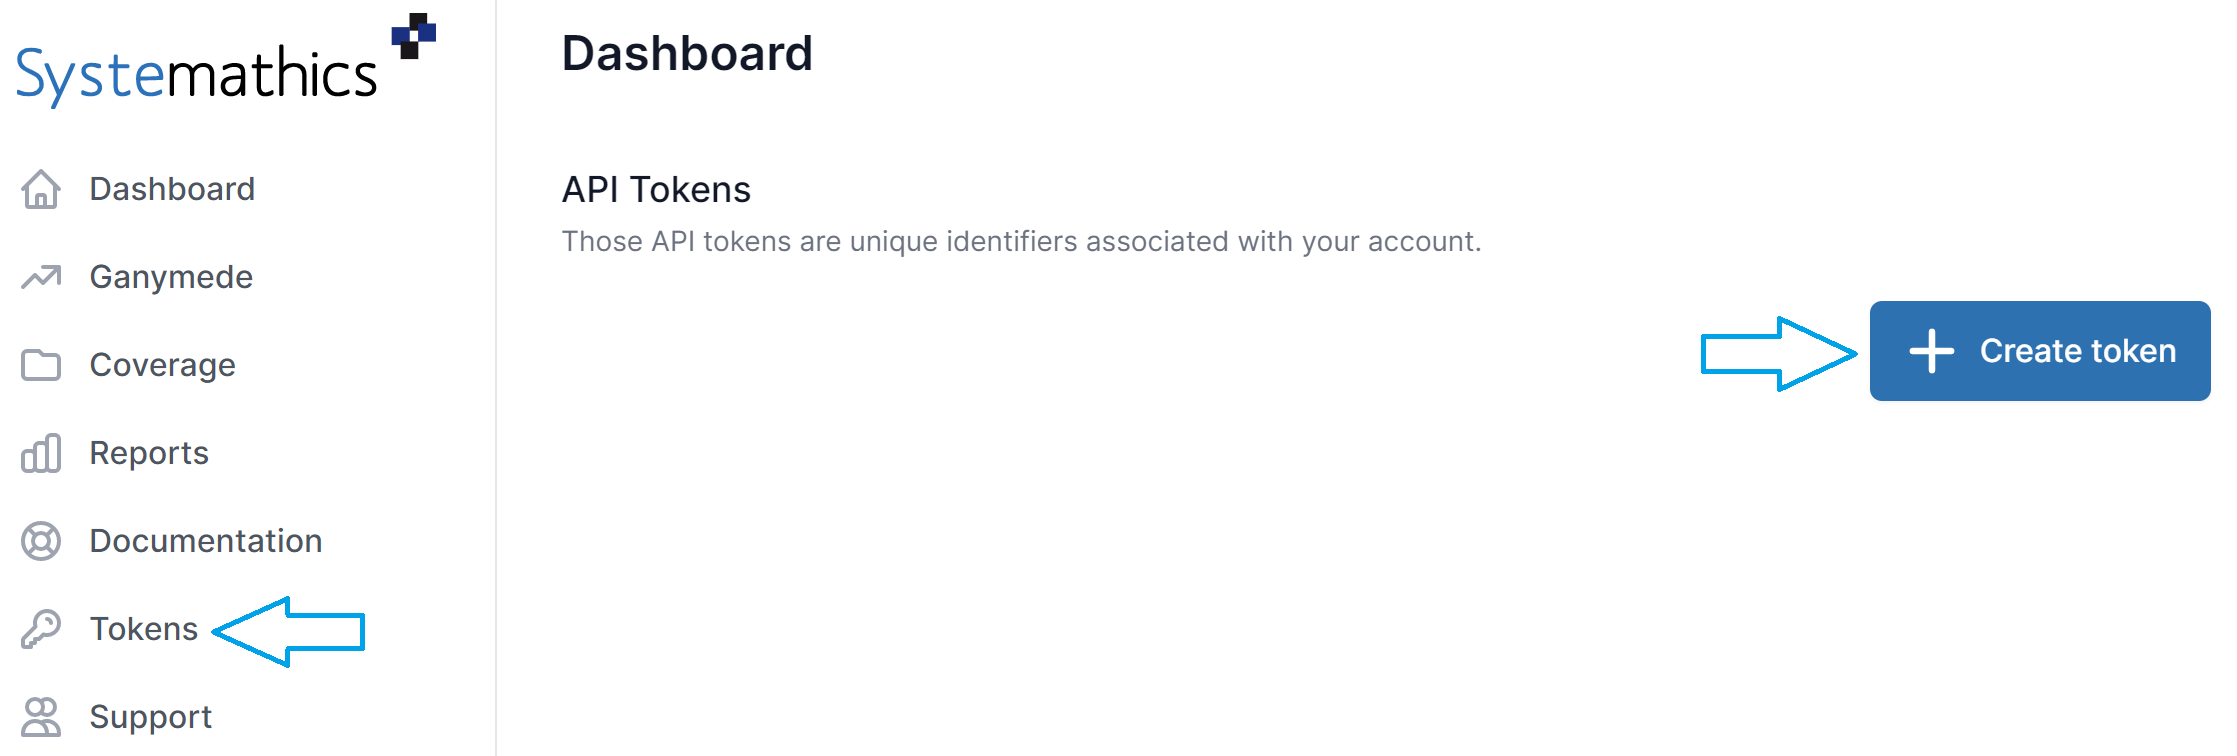
To authenticate against Ganymede API, you have to obtain a token. Go to tokens in your dashboard, then click "Create token".
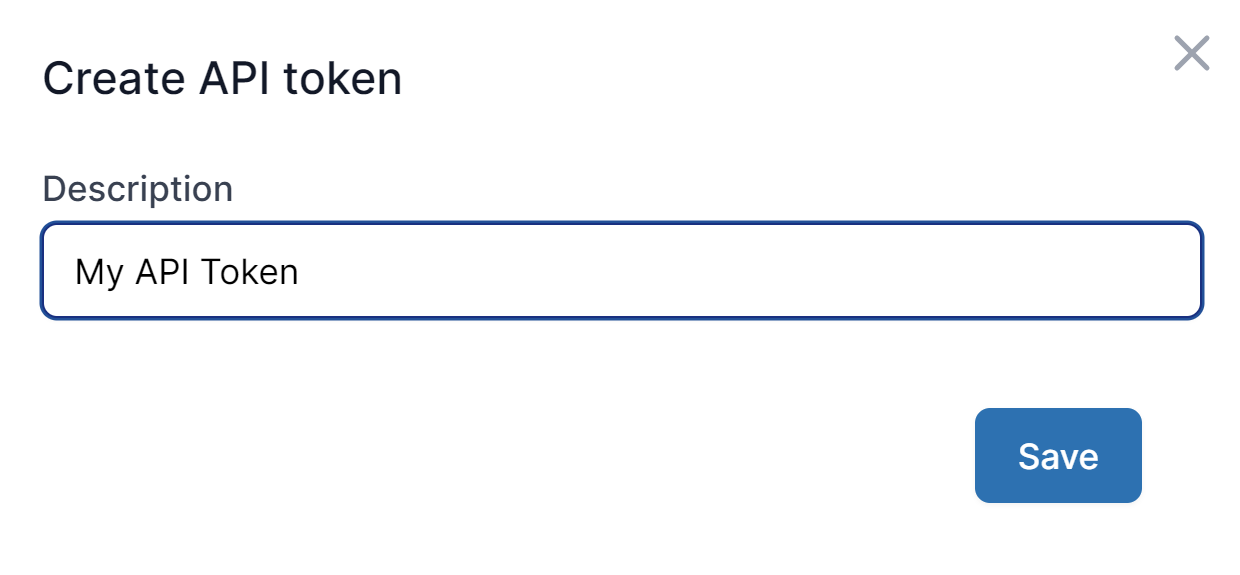
Input a name for your token, then click "Save"
a dialog will then appear, with detailed information about the newly created token.
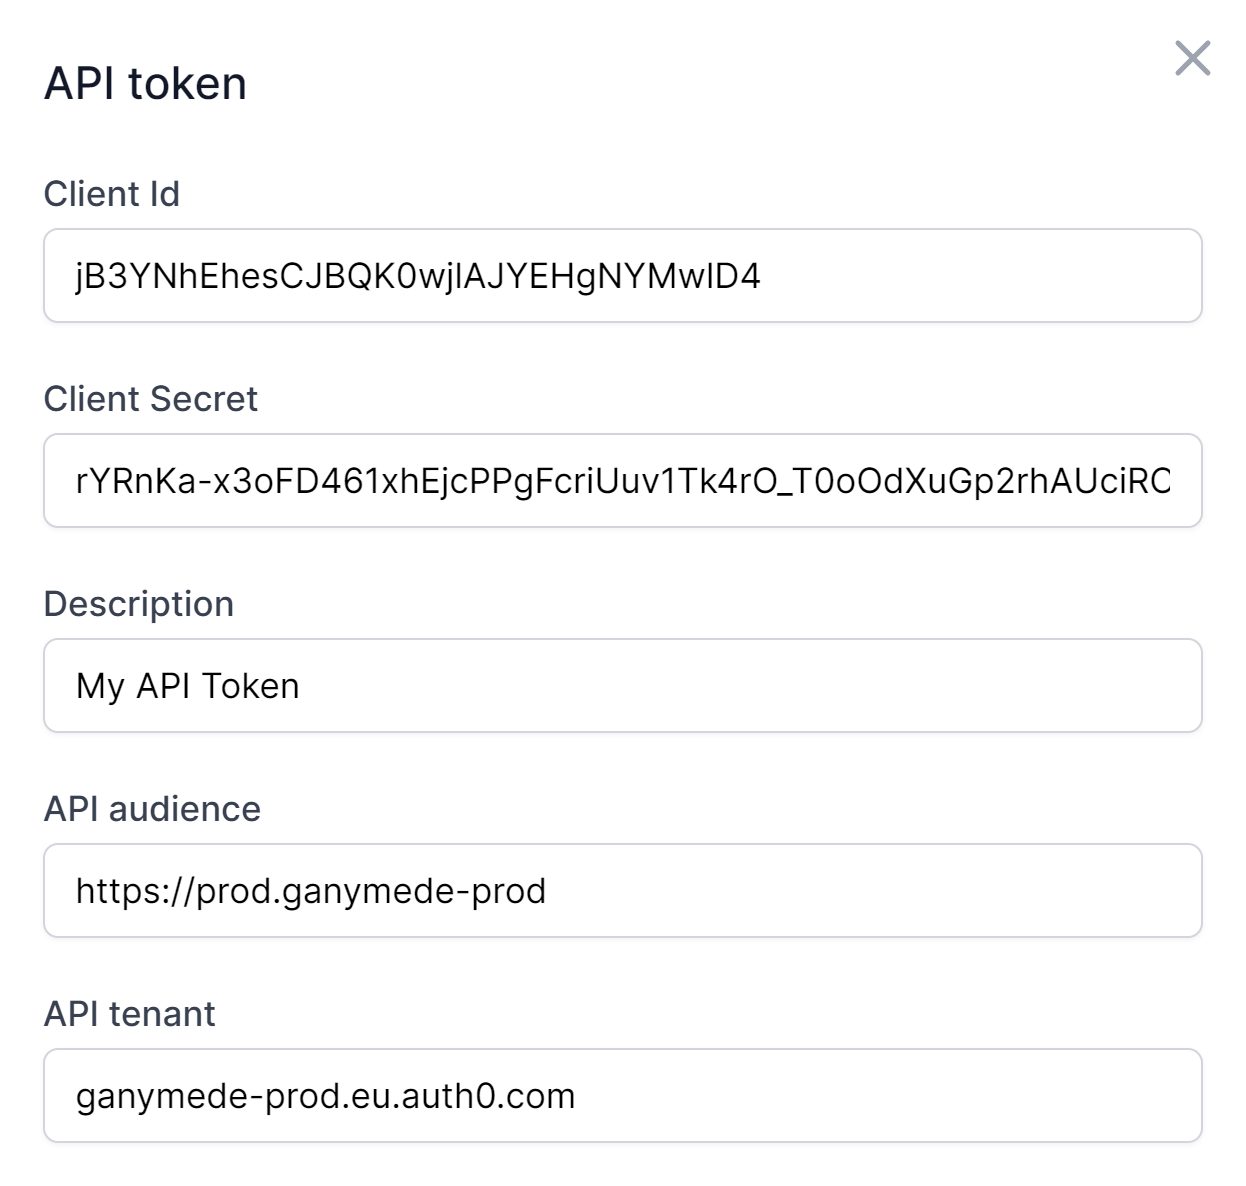
Ensure to keep the client secret handy as it won't be visible anymore after closing the dialog.
Your newly created token is now active.

Please note that this token is persistent across sessions, logging in and out won't affect it. To remove access you need to delete it manually.
Step 6 : Edit remoteaccess/jupyter-lab-windows.cmd
Fill CLIENT_ID and CLIENT_SECRET environment variables, they are required to get a JWT authorization token suitable to accessing Ganymede public endpoints.

Note that there is no quoting or double-quoting there. If you put them, they will end-up in the environment variables themselves, leading to authentication errors.
Have a look at Template API call and Environment variables for a deep understanding on how environment variables work together with token helpers and channel helpers.
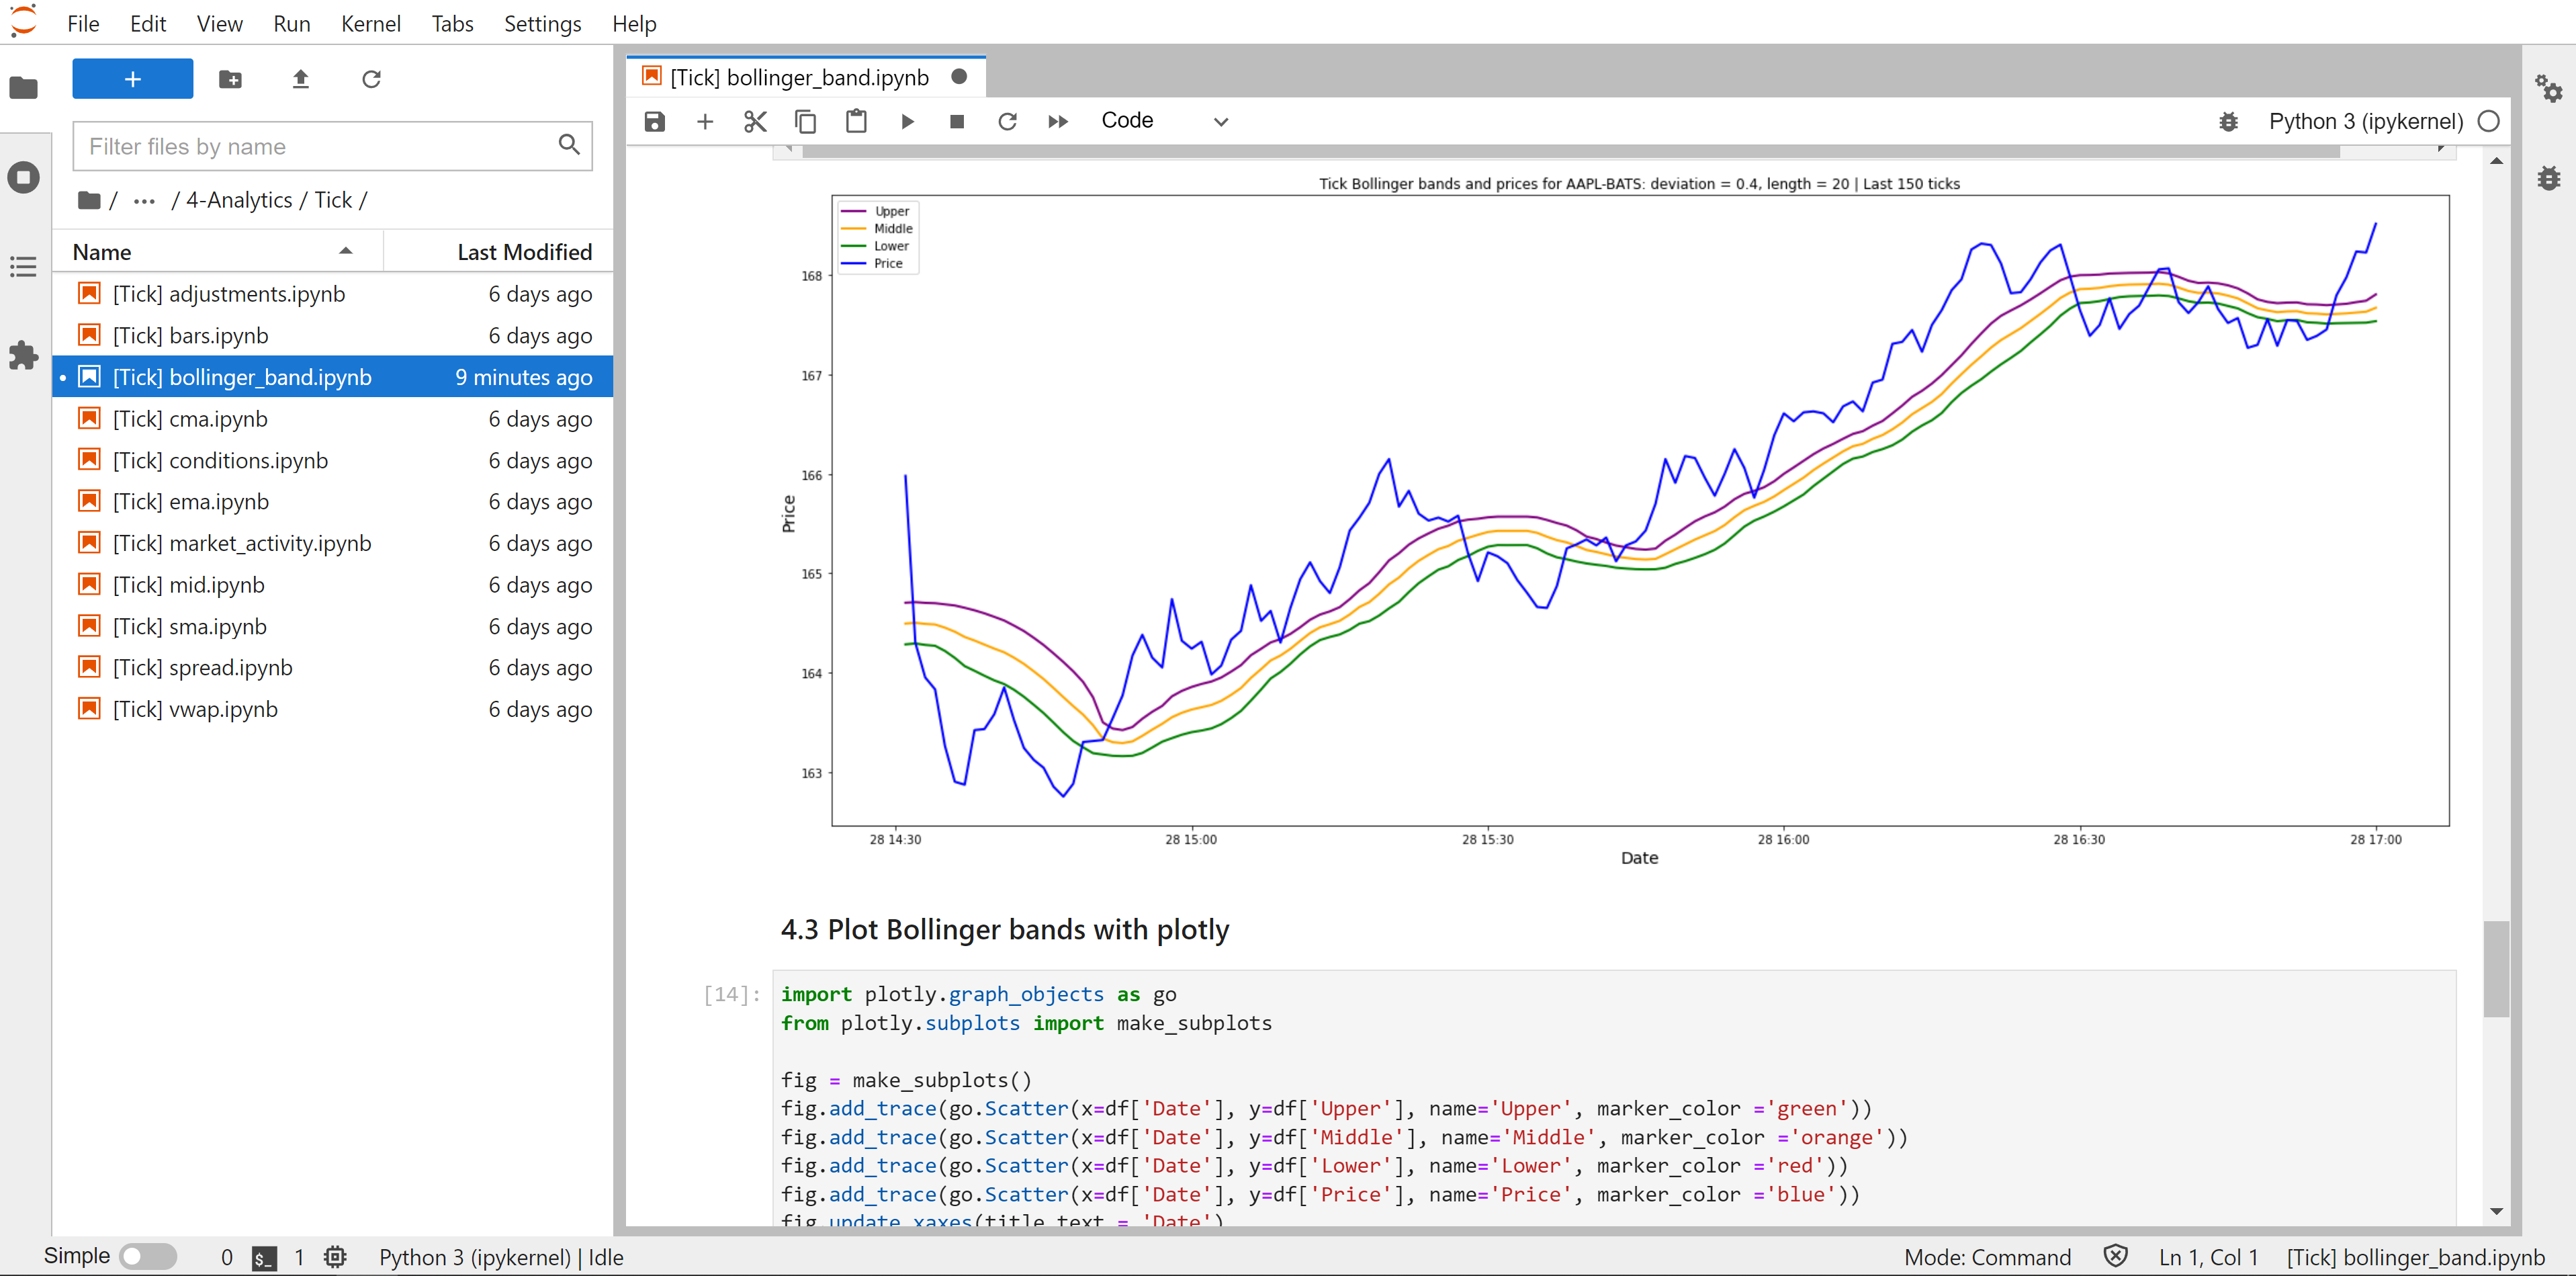
Step 7 : Ready to go
Everything is now ready to go. Just double-click on remoteaccess/jupyter-lab-windows.cmd it will launch a Jupyter lab with the right environment to access Ganymede remotely.